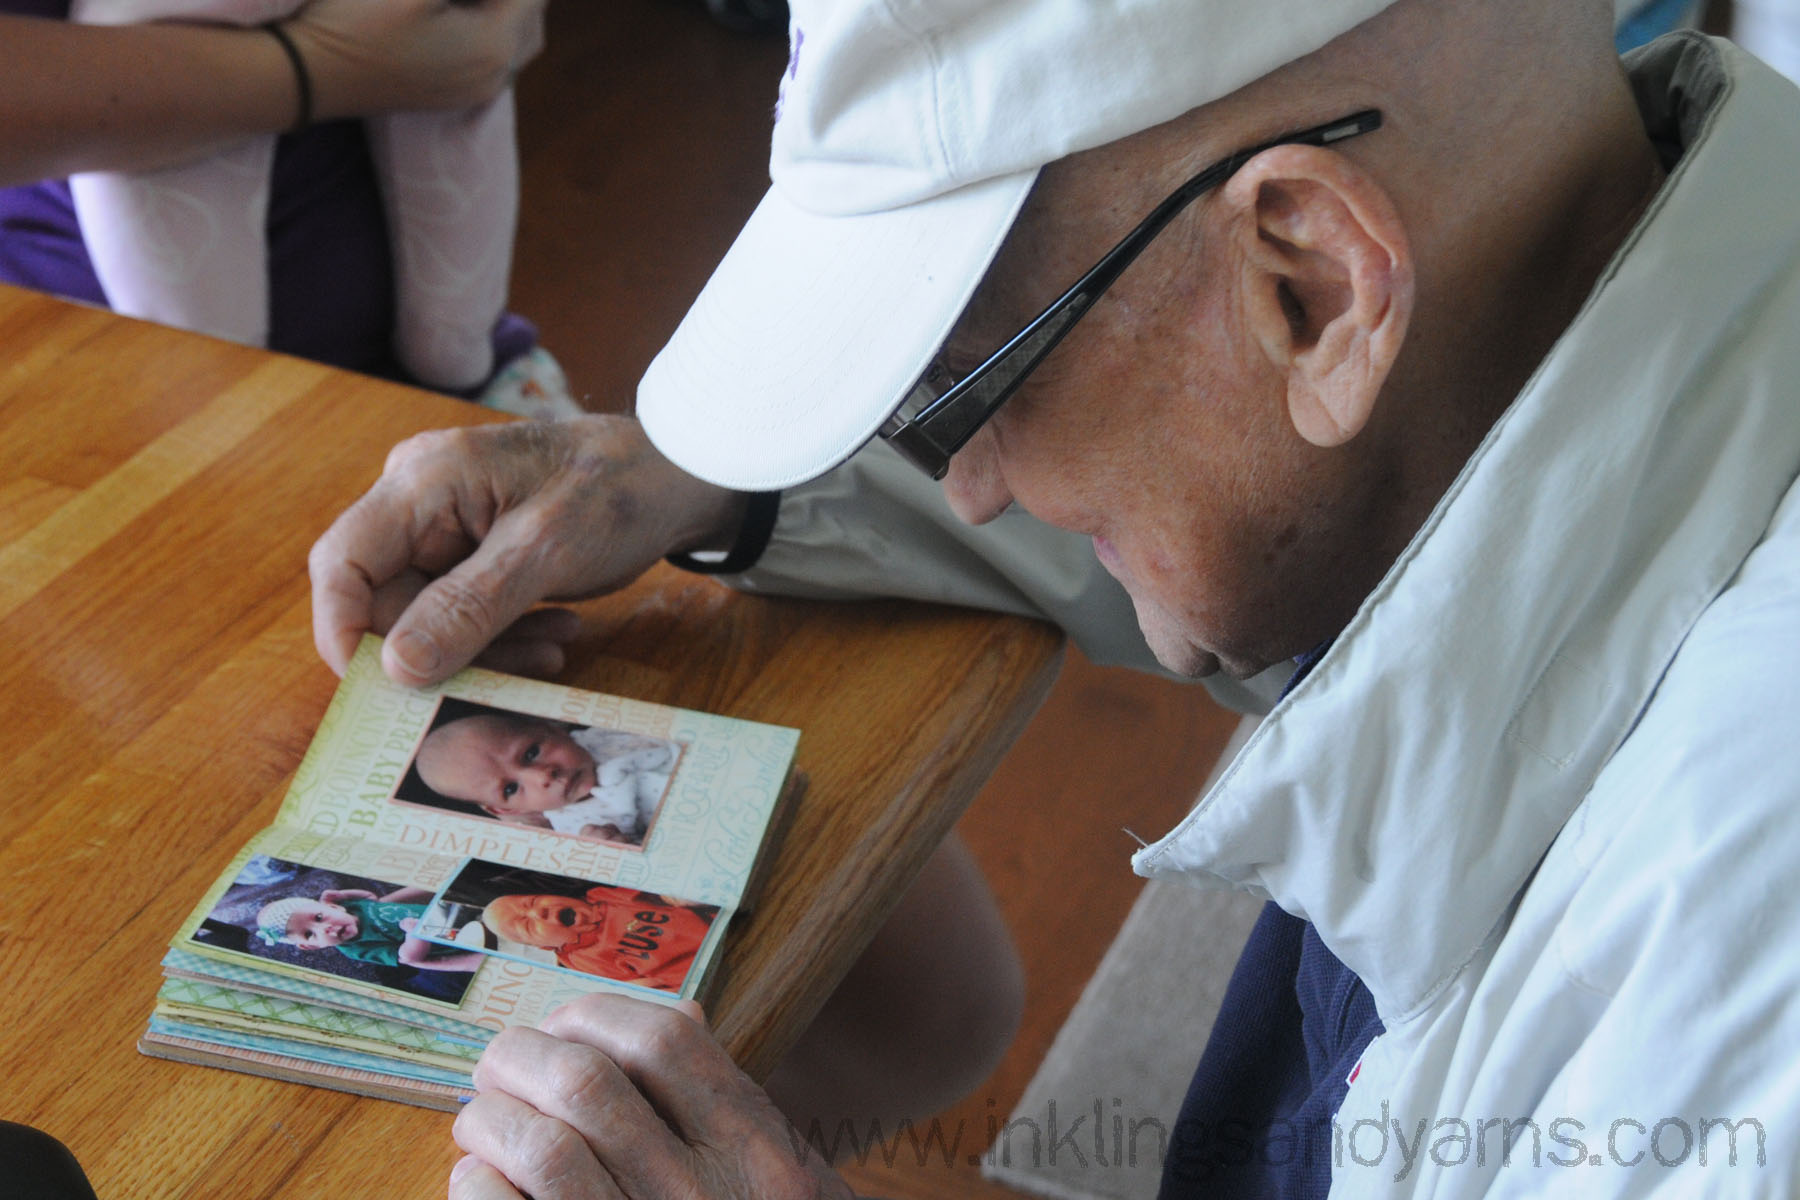

This post has been weeks in the making. First, the album itself took ages to make. Then I couldn’t post about it because it was a birthday gift for my mom, and then I had to compile the billionty pictures that I had of the thing into something manageable.
But here it is. I’m not gonna lie, it’s one of my favorite things I’ve ever made.

I spent ages making this thing. I’m not kidding when I tell you there was no edge left un-inked. But I’m really happy with the final product. The inspiration actually came from those gorgeous book covers by 7 Gypsies. As soon as I saw them I thought they’d be perfect for a mini baby book. Then I saw the Little Darlings paper collection from Graphic 45 and the idea really started to take shape.
I’ve never done my own book binding before, so it was a bit of an adventure. I found a couple of tutorials on Pinterest, but none of them were exactly what I wanted. All of the pictures and embellishments, of course, add a lot more bulk than if you’re making a bound journal, so I had to space the pages out more than usual. I solved this problem by making each of my signatures only one page (that is, I didn’t stack multiple sheets together before folding and stitching) and I used what I gather is a variation of long stitch binding.

I measured and marked the binding so that the pages were placed an eighth of an inch apart, and I used crochet thread to sew them in. It’s just a simple straight stitch, up one page then down the next. The spine of the book is made with Sticky Back Canvas. I actually think it worked really well as a binding, and would use it again. I left the backing in place on the spine, but peeled it away from the sides and stuck it straight down to my front and back pages. Then I glued the chipboard covers over that.

I had originally intended to cover the stitching, so I trimmed it a quarter inch at the top and bottom. Then I ended up liking how the stitches looked so much that I left it raw. So in the future I’d keep my canvas the same size as the pages, but for a first attempt I tell myself it adds to the charm. I did use a little Distress Ink (Walnut Stain and Vintage Photo) to make the spine match the covers a little better.
So yeah. Looks like you can add bookbinding to my ridiculous list of hobbies, because this is definitely something I’ll be doing again.
Comments 4
whoah this blog is great i love reading your articles. Keep up the great work! You know, a lot of people are searching around for this information, you could aid them greatly.
I do agree with all of the ideas you’ve presented in your post. They are really convincing and will certainly work. Still, the posts are very short for beginners. Could you please extend them a little from next time? Thanks for the post.
I do not even know how I ended up here, but I thought this post was great. I don’t know who you are but certainly you’re going to a famous blogger if you are not already ;) Cheers!
We are a group of volunteers and starting a new scheme in our community. Your website offered us with valuable info to work on. You have done an impressive job and our entire community will be grateful to you.