When I started planning, I spent several weeks sortof at a loss for how to decorate it. I saw all these gorgeous spreads on Instagram and in Facebook groups, but never seemed to be able to recreate them in my own planner. I started out just sortof putting down stickers that I liked, without much regard for how they went together, but the effect was kindof sparse and disorganized.
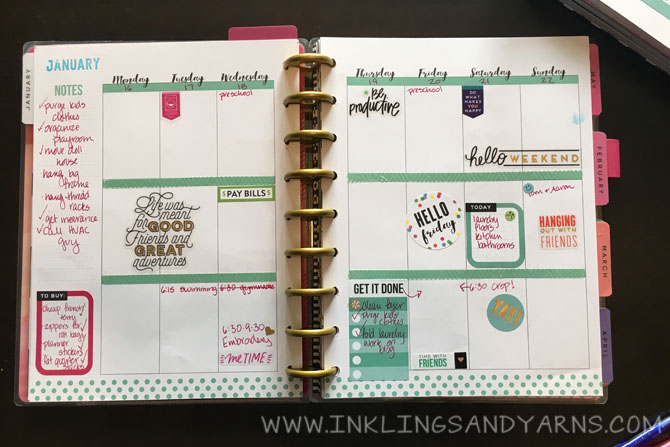
I tried to fix that by using functional stickers for each day, and then ended up top-heavy and boring.
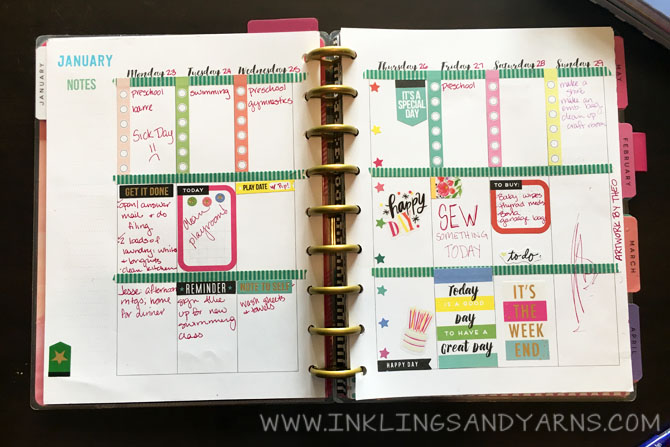
Then I realized, if I wanted to recreate one of the pretty spreads I saw on Instagram, I should just recreate a spread I saw on Instagram. In scrapbooking and card making I often work from sketches–black and white diagrams of potential layouts–when I need inspiration. There don’t seem to be a lot of planner sketches out there, but that doesn’t mean you can’t use an existing spread as a sketch.
I decided to CASE Heather Kell’s planner for the week of February 20-26. And there it was. #PlannerPeace.
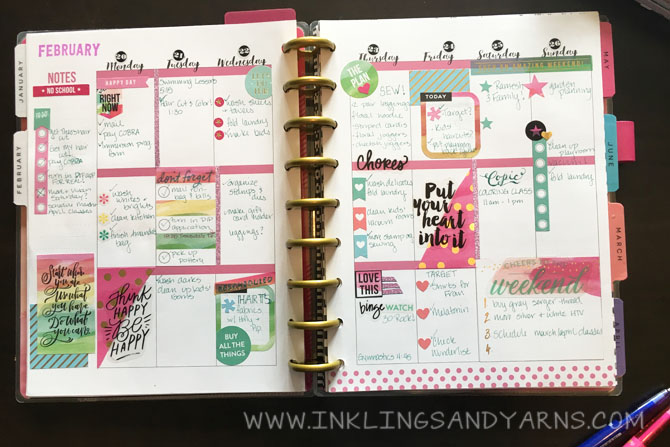
I thought maybe I’d do this for about a month until I got the hang of it. But honestly, after that one spread it just clicked for me, and I’ve really been enjoying the process ever since. I look forward to my planning days now, and have to restrain myself from working weeks into the future.
So I thought I could help some other planner newbies by sharing my process for this coming week. I took pictures of each element as I added it, and will include some of my thought processes as I planned along. Here we go!
Step 1: The Theme.
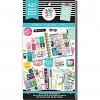
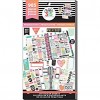
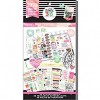
It’s probably obvious, but I start each week by choosing a color scheme or theme. Several of the Mambi sticker books contain color-coordinated sheets that you can use as kits (Color Story, Rainbow, the one that’s just called Stickers with 1050 pieces, and Seasonal). So usually I start there and then flip through my other books for stickers that match my chosen theme. I have a lot of sticker books, so I use Post-it flags to mark stickers that might work.
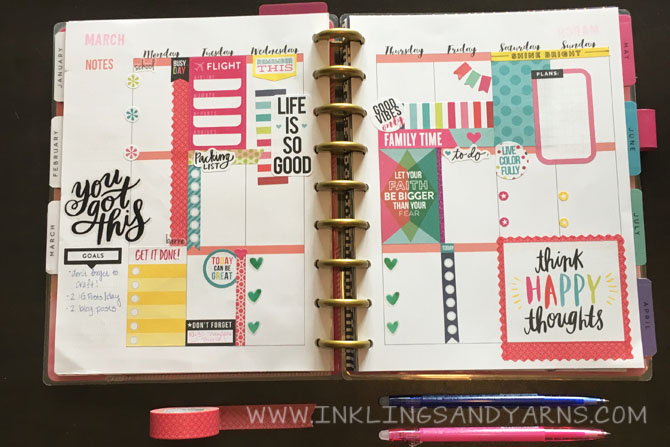
This week I started with the first 4 pages of the Color Story pack, and coordinated them with stickers from the several other packs. I’m gearing up for kindof a rough week–flying home to visit my grandfather who has not been doing well–so I wanted this spread to be full of bright colors and positive affirmations.
Step 2: The Weekend.
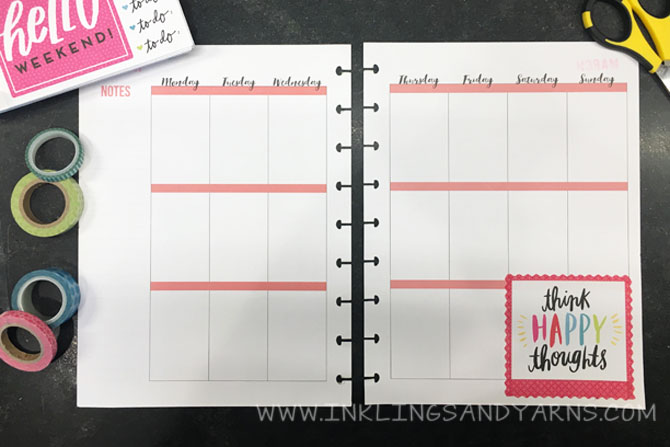
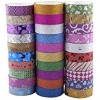
I always start with the bottom right corner of the spread. Like most people, my weekends aren’s as busy as the rest of the week, so I can burn 2 blocks (or more) on a quote or decoration. This “Think Happy Thoughts” sticker was perfect, but being on a white background I felt like it needed something extra. Enter washi tape. Washi is a perfect accent and space filler, and as you will see, I use it a lot. Still, I felt like this corner was lacking something with just a stark, square border.
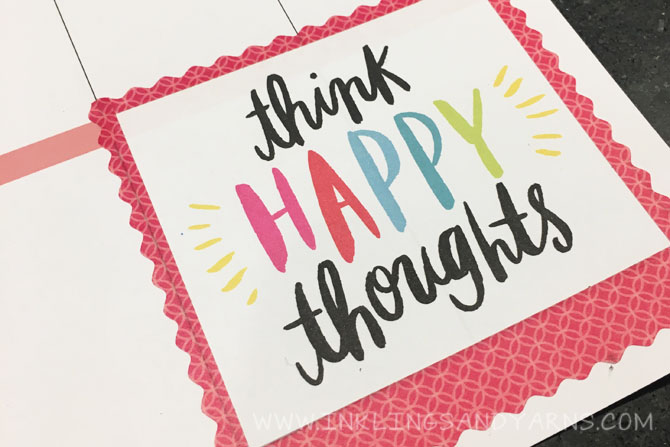
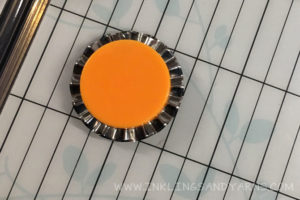
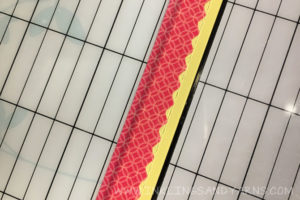
My rotary cutter has an optional scallop blade, so I used that to put a decorative edge on my tape. It’s super easy to cut washi tape, because you just stick it down to the cutter and it peels right up when you’re done.
Step 3: Major Events.
Once I was happy with my corner, I moved to Tuesday, which is the day of my flight home. I got my flight info sticker from the Watercolor pack. Since most of that day will be spent it the air and I don’t need a lot of space for other plans, I decided to put a packing list right on the day. The list banner came from the Color Story pages; I just cut off whatever tag was at the top and used a packing list sticker from the flight page. A little washi tape brought in some extra color and filled some of the awkward space above the banner.
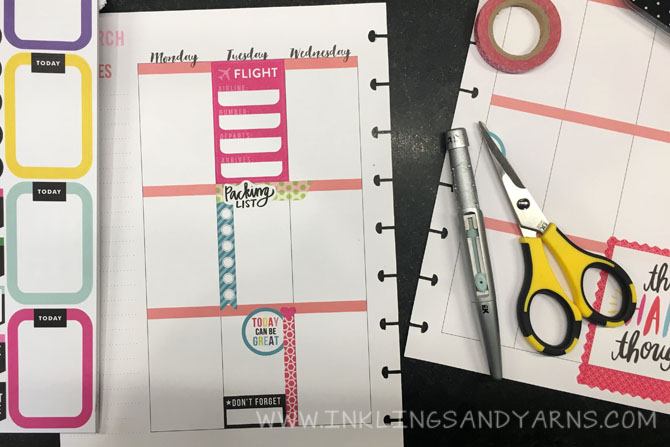
Finally, my daughter (who is staying home with my husband) has a playdate on Tuesday that I don’t want them to forget. So I added a reminder for myself to remind them :) These little blocks from the productivity pack are narrower than the columns in the Classic planner, so again I used some washi to fill the space. The finishing touches were the little heart and the “Today Can Be Great” sticker–a joke to myself considering a day spent on an airplane with a toddler is pretty much the opposite of great.
Step 4: Fill
From Tuesday I moved to Monday. The day before a trip is typically full of last minute errands and lots of running around, so I wanted to leave a lot of space for notes. The Get it Done block is from Color Story, and the little Busy Day flag is from Productivity. I used the leftover washi from my corner to add some interest since the day was pretty stark otherwise.

I don’t really have any set plans from Wednesday on. The “Let Your Faith be Bigger Than Your Fear” from the Quotes stack jumped out at me, and it fits the color scheme of the page pretty well. I usually put a full block in the middle of Thursday or Friday, and I picked Thursday this week so it wouldn’t obstruct the corner of my washi boarder. Lining one side of a quote block with super-skinny glitter washi is one of my favorite ways to highlight something on a page, so I did that here.
The “Remember This” sticker went on Wednesday because I assume I’ll be seeing my grandfather that day. And I used a 2-day “Family Time” banner for Thursday and Friday, seeing as how I’ll obviously be spending time with my family for most of the week. Both of those stickers also came from the Quotes pack.
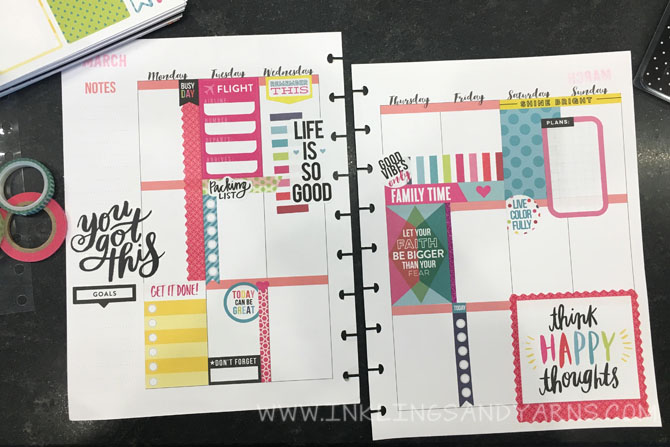
Back to the Color Story pages, I grabbed a couple background stickers. The blue dots made a nice contrasting background for the pink Plans block, so I put those at the top of my weekend. The Shine Bright sticker helped pull some of the yellow elements onto that side of the spread.
The stripes were one background block that I cut in half lengthwise to use as layering elements. It seems like “Life is so good” is a good thing to remember, so I put it below the “Remember This” sticker. Then “Family Time” needed some more interest, so I put the other half of the sticker above it. It’s not long enough to cover two columns, so I used the “Good Vibes Only” dot to fill the space.
Then the bottom of Thursday and Friday was looking pretty lonely, and I figured I’d probably need a bulleted list at some point in the second half of the week, so I stuck one down there.
Step 5: Sidebar
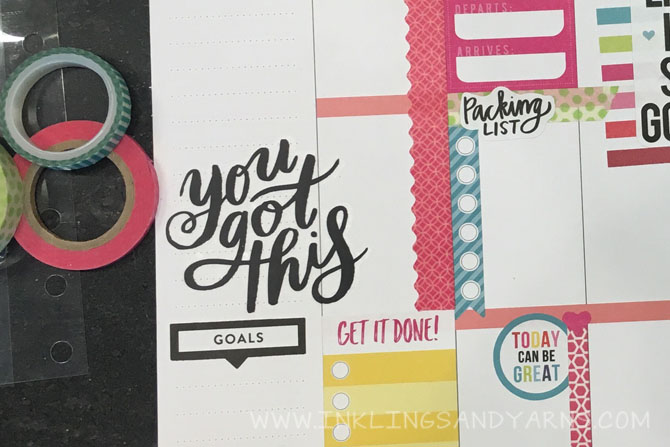
I use the notes section to put reminders and to-do items that don’t have a due date assigned to them. Usually I put a quote or decoration at the bottom of the sidebar, but since I have a large sticker at the bottom of Monday and the quote I wanted to use is wider than the sidebar, I placed it in the middle. A few weeks ago I also started incorporating a “Goals” box somewhere in each spread, which has really helped me focus on one or two things each week. This week it fit perfectly in the bottom corner below my quote.
Step 6: Bullets and Icons
To finish, I place little bullet and icon stickers in all the empty spaces. It gives me more space to jot down little notes throughout the week, and helps balance the white space. This week I decided on a whim to use some of the little flag bullets to make a banner at the top of Friday. Sometimes the little unplanned elements that I end up liking the most.
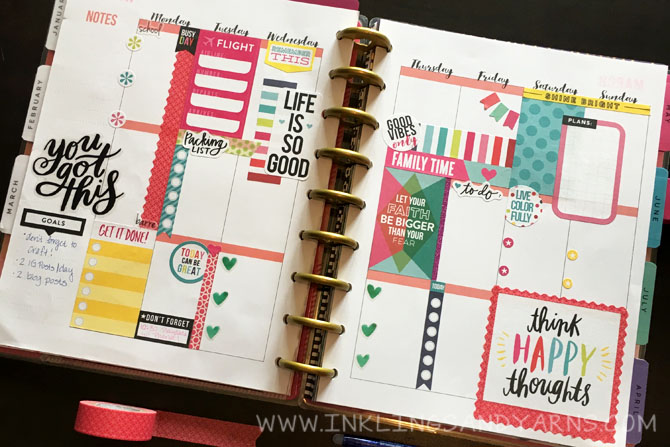
So there you have it. That’s how I plan. I hope that walking you through my thought processes helped inspire your own spreads! If you case this one, Tag me on Instagram (@inklingsnyarns) so I can see!
Supplies:



Comments 4
Great post, I really had a great time reading it. Your writing style is very captivating and your ideas are highly relevant. Keep it up!
Thank you for offering such complete and useful content. Your blog is truly remarkable.
This article is a in-depth guide on the subject; it’s a goldmine of knowledge.
Reading your blog is always a pleasure; your writing intrigues me every time.