I don’t think I even knew these things existed until last week. Apparently they were released at Winter CHA this past year, but I was kinda busy having a baby right around then. It’s a shame I didn’t discover them sooner, because I kindof love them.
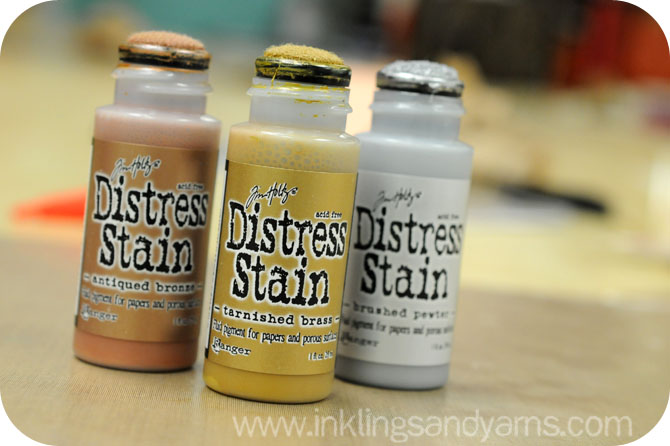
Much like regular Distress Stains, these are water-based fluid inks that are great for covering large backgrounds quickly and easily. Unlike regular Distress Stains (which are translucent), these contain metallic (shocking!) pigment and are semi-opaque. They come in gold, silver and copper, but since this is Tim Holtz’s Distress Line, they had to be named Tarnished Brass, Brushed Pewter, and Antiqued Bronze. Wish I was kidding.
Despite the dumb names, they work awesomely in conjunction with the original Distress Stains to add just a hint of shimmer to your backgrounds. But for this project, I didn’t want to add a hint of shimmer. I wanted ALL shimmer, so I used the three metallics together.
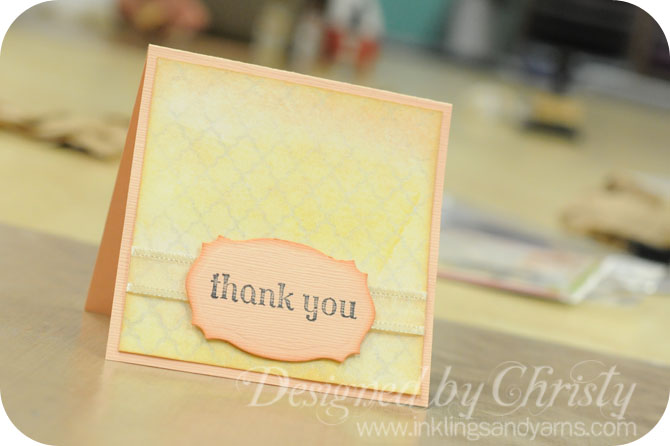
I found, while I was experimenting, that the pigment in the silver (ahem, brushed pewter) stain is a little more…intense than the other two. So to do my background I used just the bronze and brass. The process is one you’ve probably seen many times before, with many different Distress products.
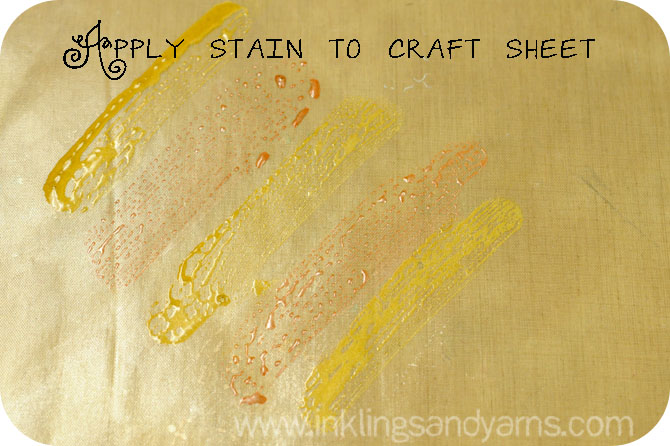
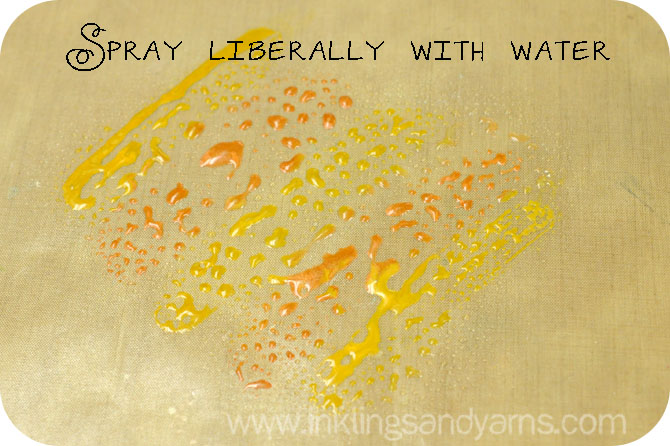
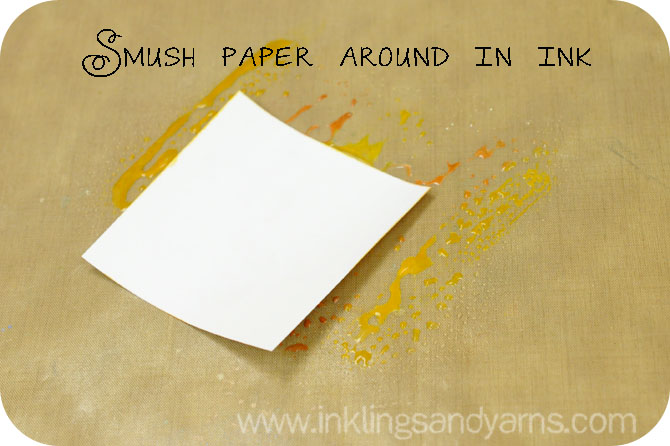
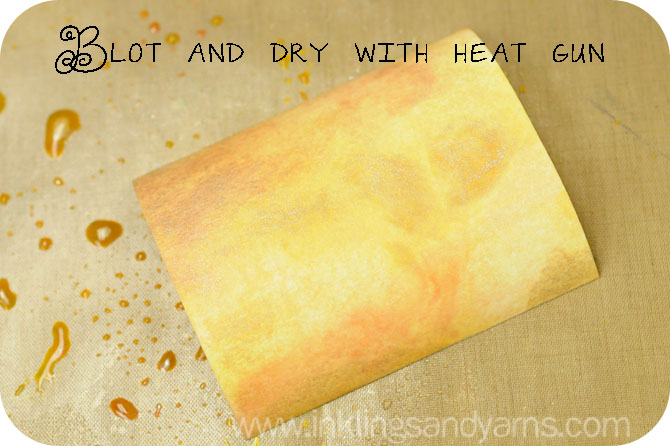
Because these Distress Stains contain metallic pigment, it’s important to shake them up a bit before you use them. Otherwise, they work exactly the same as other Distress Stains. I like to use alternating stripes of color, and fill an area on the craft sheet just slightly larger than the paper I’m using. Don’t touch the stains to each other while you’re applying them (the inks won’t contaminate, but the felt applicators can get dirty), just let the water and the smushing (I love that word) blend the colors. As you can see in the last picture, there is plenty of stain still on the craft sheet after making one background. You can either continue smushing the same paper and drying between layers to get deeper colors, or you can do multiple sheets with one application of ink.
Now I have my gold/copper background, but I still want to add some silver to the card. I decided to accomplish this with a delicate background stamp. This one from Hero Arts is my current favorite.
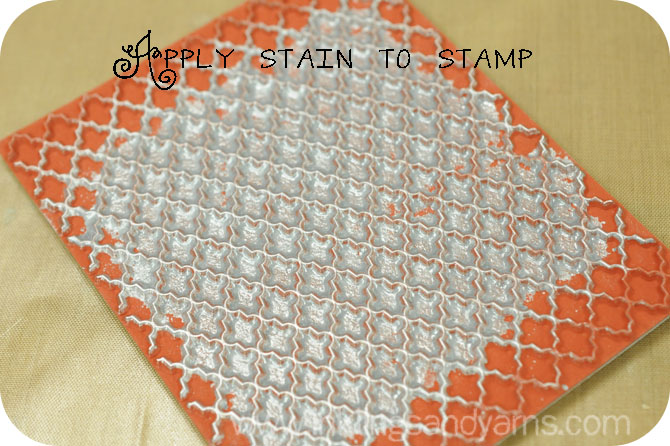
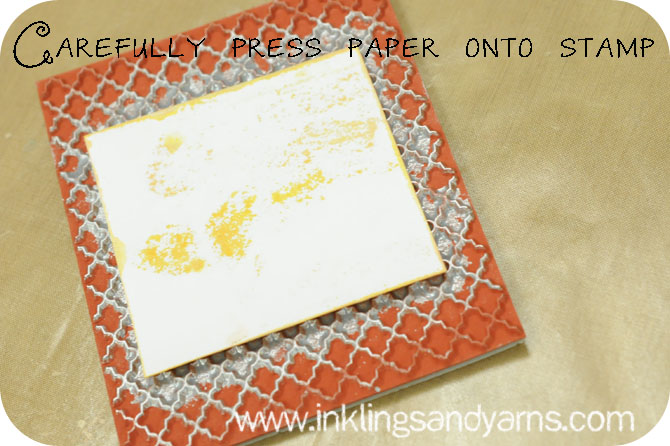
Apply the stain to the stamp in quick back-and-forth sweeping motions. If you blot or dab the stain onto the stamp you’ll end up with too much. Then, instead of flipping the stamp over onto the paper, just carefully press the paper down onto the stamp (this way you don’t have to buy a giant block for your background stamps).
Now that the background is all set:
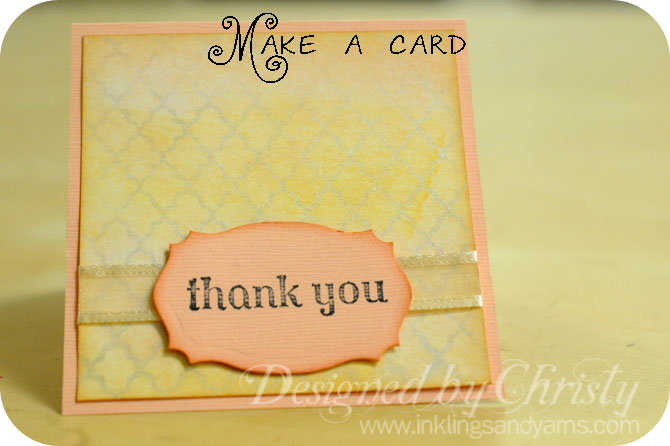
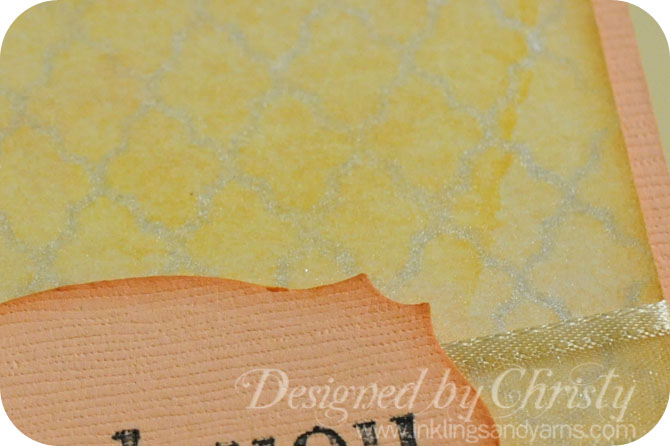
It’s amazing how well these stains catch the light. Pictures just don’t capture it. They’re more concentrated than sprays, and more shimmery than paints, so you get a lot of bang for your buck.


Comments 2
Your style is considerate and compelling, I’ve thoroughly enjoyed reading it.
I was curious if you ever considered changing the page layout of
your website? Its very well written; I love what youve got to say.
But maybe you could a little more in the way of content so people could connect with it better.
Youve got an awful lot of text for only having 1 or two images.
Maybe you could space it out better?